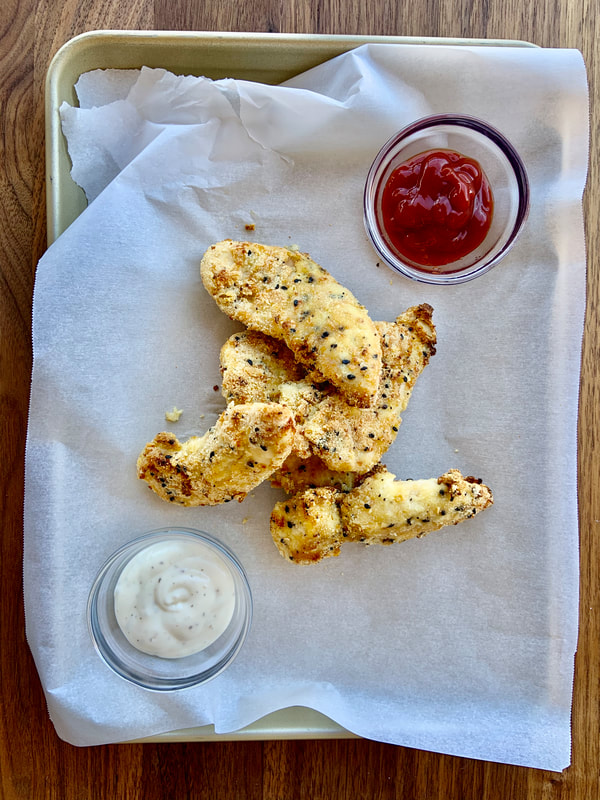
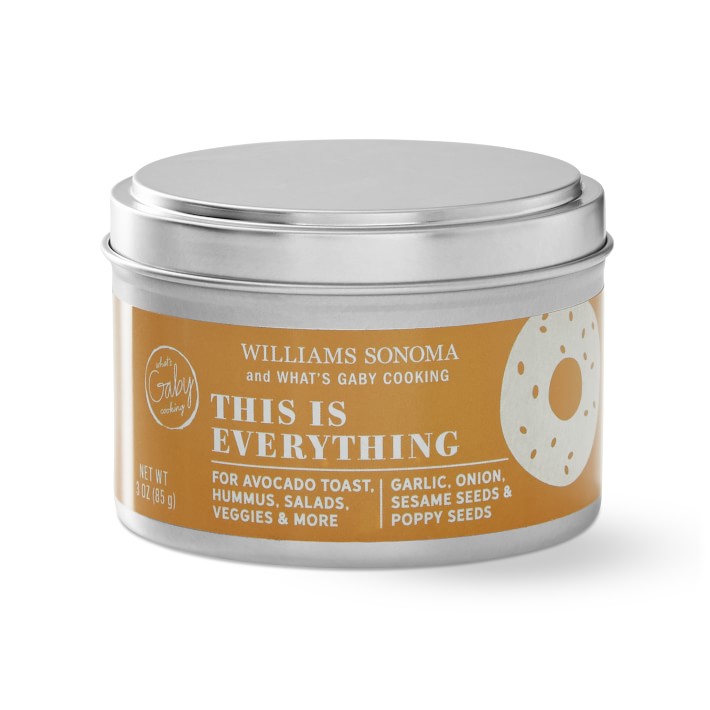
The star ingredient of this recipe is "everything bagel" seasoning. To be honest, I have never even tried an actual everything bagel, just because I've always stuck to my childhood favorite of cranberry smeared with strawberry cream cheese. (Stay with me here!) But, when Gaby Dalkin of What's Gaby Cooking came out with a line of seasonings at Williams Sonoma, I had to give this flavor combo a try. Her products have yet to fail me. Plus, she's one of my favorite food bloggers and is one of the reasons I decided to go for it with my own. Give her a follow @whatsgabycookin, I promise you won't regret it!
What did I find out? Well, "everything" seasoning goes with pretty much everything! I typically make air fryer chicken with panko bread crumbs and parmesan, but couldn't wait to try them out with this blend. The beauty of seasoning blends is that there is so much flavor packed into them. You don't need much of anything else to make your food taste fantastic. This recipe has only 6 ingredients:
What did I find out? Well, "everything" seasoning goes with pretty much everything! I typically make air fryer chicken with panko bread crumbs and parmesan, but couldn't wait to try them out with this blend. The beauty of seasoning blends is that there is so much flavor packed into them. You don't need much of anything else to make your food taste fantastic. This recipe has only 6 ingredients:
- Chicken breast
- Eggs
- Almond flour
- "This is Everything" seasoning (or your favorite "Everything Bagel" seasoning of choice)
- Salt
- Olive oil spray
Can it get any more simple than that?!
Of course, I'm sure you can use any "Everything Bagel" seasoning (I think I've seen one at Costco recently), but I do highly recommend this one! By the way, this is not a sponsored post. Pshhh...I wish! It's only my second swing at bat in this whole blogging thing!
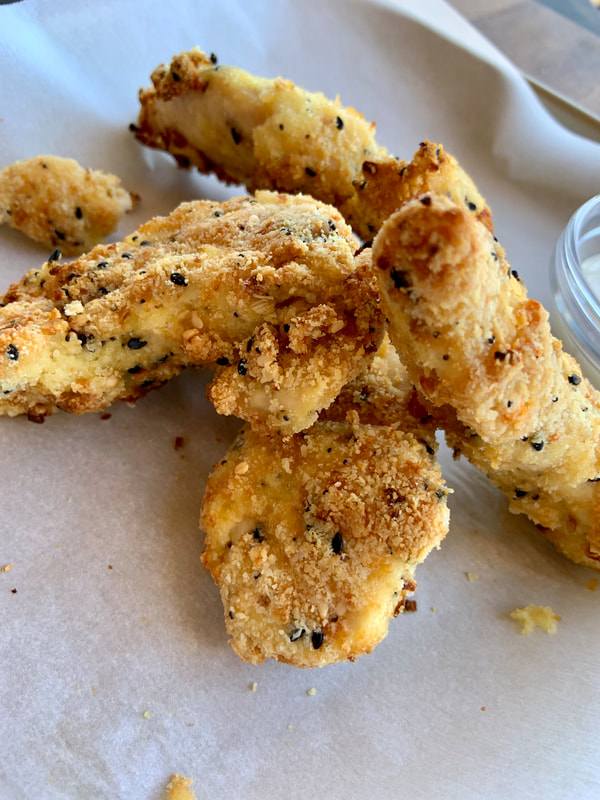
If you do use a different brand, just note whether or not it has salt already added to it. Gaby's doesn't have very much, but you may want to use less salt if your seasoning already contains it. Other than that, you're good to go! Make these in an air fryer to get a super crispy and golden crust, but you can certainly make them in a regular oven. I have tried it both ways, with success!
If you do use a different brand, just note whether or not it has salt already added to it. Gaby's doesn't have very much, but you may want to use less salt if your seasoning already contains it. Other than that, you're good to go! Make these in an air fryer to get a super crispy and golden crust, but you can certainly make them in a regular oven. I have tried it both ways, with success!
Everything Chicken Fingers
Serves: 4, Prep time: 5 minutes, Cook time: 16 minutes
Main Ingredients
2 lbs chicken breast, cut into strips
2 eggs
1 cup almond flour
2 tablespoons everything bagel seasoning
1/2 teaspoon salt
olive oil cooking spray
Recipe Steps
You can make this recipe in the oven if you don't have an air fryer. Preheat to 425 degrees F, coat on each side with olive oil spray, and bake for 16-17 minutes, turning the chicken over halfway through.
Always ensure chicken is cooked to an internal temperature of 165 degrees F!
]]>Main Ingredients
2 lbs chicken breast, cut into strips
2 eggs
1 cup almond flour
2 tablespoons everything bagel seasoning
1/2 teaspoon salt
olive oil cooking spray
Recipe Steps
- In a shallow bowl, lightly beat 2 eggs and set aside. In another shallow bowl, combine the almond flour, everything bagel seasoning, and salt. Dip each chicken strip into the eggs, then into the almond flour mixture. Place on a clean plate. Repeat this process with the rest of the chicken.
- Arrange the chicken strips in the air fryer so that they are not touching one another. (You may have to cook in 2-3 batches, depending on how big your air fryer is.) Spray the olive oil cooking spray over the top of the chicken. Preheat air fryer to 400 degrees F and cook for 7-8 minutes, then turn the chicken over, coat with olive oil cooking spray, and cook for another 7-8 minutes. Remove the chicken from the air fryer immediately after cooking. Serve with your favorite dipping sauce!
You can make this recipe in the oven if you don't have an air fryer. Preheat to 425 degrees F, coat on each side with olive oil spray, and bake for 16-17 minutes, turning the chicken over halfway through.
Always ensure chicken is cooked to an internal temperature of 165 degrees F!
Brrr! It's freezing outside y'all! Here in West Texas, winter has officially made it's first appearance. It's a welcome change after the unusually hot fall we've had so far. It's a perfect week to get cozy by the fire with a warm bowl of chili, which is exactly what I'm bringing you today! Considering all of the dishes I make for my family and friends on a regular basis, this one is probably my most requested recipe. So, without further ado, here it is - my first blog post on A Homespun Life!
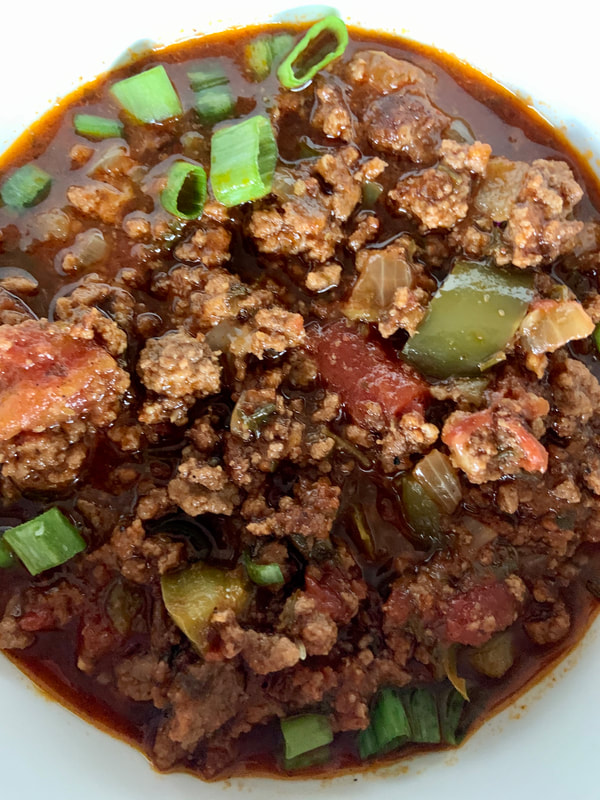
This recipe requires minimal prep. After prepping, set the slow cooker (or pressure cooker) and forget it...until it's time to eat! I love this chili recipe because it's so versatile. It's meaty and doesn't contain any beans, so you can serve it with pretty much anything. Rice, pasta, corn chips - whatever floats your boat. In college, my roommates and I would eat this regularly on top of macaroni pasta. You really can't get more comforting and hearty than a good chili-mac topped with cheese! If you are making it for a crowd or serving it just by itself, I highly recommend doubling the recipe. It's gone before you know it!
Prep it good!
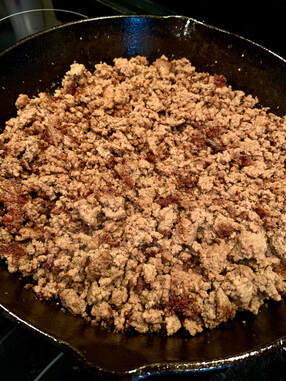
Back when I first started cooking for myself and my friends in college, I once asked my mom if it would be ok to skip browning ground beef before slow cooking it. Her answer? "Absolutely not!" After all, Mama is always right. Browning the ground beef first is essential to developing the best flavor. I usually use a cast iron skillet in order to get a nice hot sear with an added layer of flavor on the meat, but you can absolutely use any skillet. In this recipe, you'll brown the meat and cook the onions and garlic prior to dumping everything in the slow cooker. De-glaze your skillet with a some red wine and you've got a winning combo! Trust me - it is SO worth it.
Why red wine, you ask?! Well 3 reasons:
1.) Wine not?!
2.) Red wine takes the flavor of your dish to the NEXT LEVEL, especially after you let it marinate with everything in a slow cooker (or pressure cooker) while the chili cooks!
3.) You need something to help lift all those brown bits of goodness off of the bottom of your skillet so you can transfer them into your chili, not to mention it makes cleaning your pan an absolute breeze.
(On that note, if you do use a cast iron skillet, remember not to wash it with soap. Pour a handful of salt into the pan and use a steel brush or scraping spatula to get all the leftover food off the pan, then rinse with hot water and dry immediately.)
I usually use a cab, but any dry red wine will work just fine!
Once you transfer the skillet contents into the slow cooker, dump everything else in and cook for 2-4 hours on high, or 4-6 hours on low. If you are in a time pinch and want to use a pressure cooker, set it to medium-high pressure (10.5 psi) for 20 minutes, and you'll have chili in a flash!
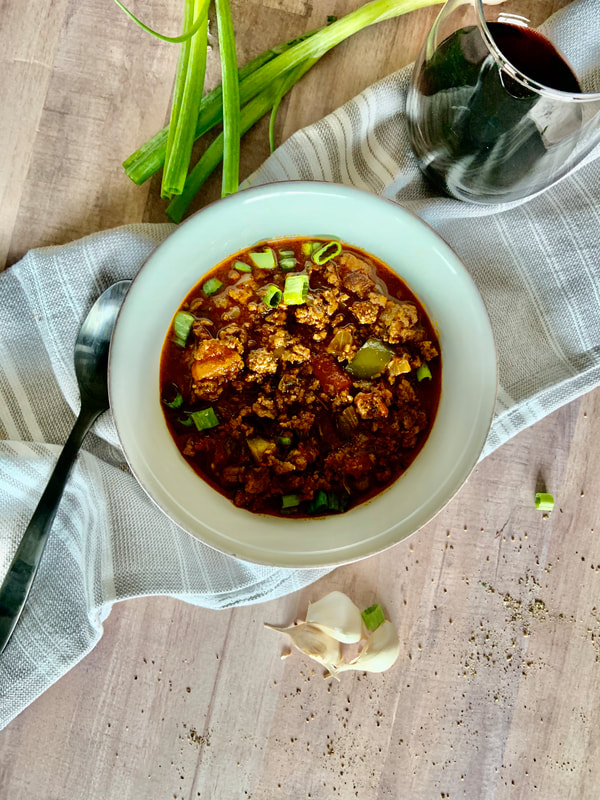
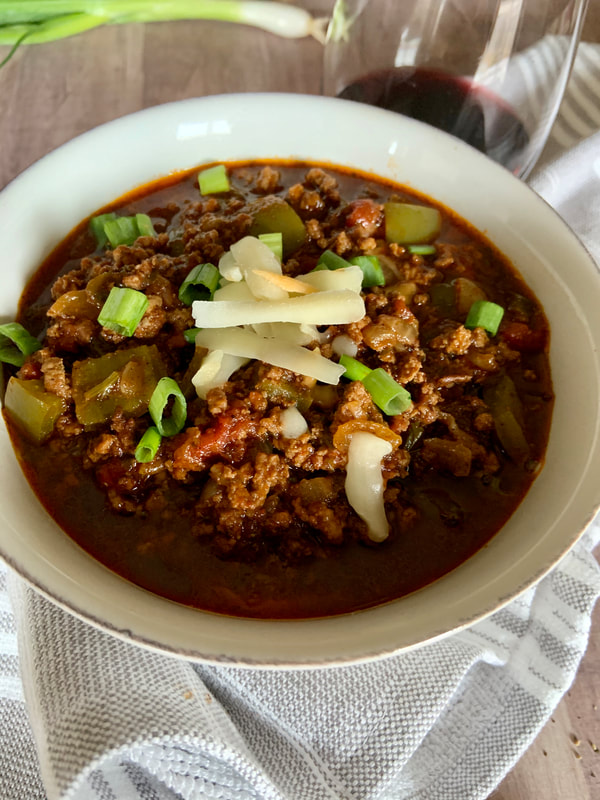
Once you're ready to serve your chili up, top it with all the goodies - green onions, sour cream, and shredded cheese. Then sit down (probably on the couch if you're at the Arp household), kick your feet up, and enjoy!
Famous Chili
Serves: 4, Prep time: 15 minutes, Cook time: 4-6 hours
Main Ingredients
1 tablespoon olive oil
1.5 - 2 lbs lean ground beef
1 can (14.5 oz) stewed tomatoes
1/2 can (8 oz) diced tomatoes
1 small yellow onion, chopped
3 cloves garlic, minced
1/2 cup dry red wine
1 small green pepper, chopped
1 jalepeno, seeded and chopped
1 can (4 oz) chopped green chiles
1/2 cup fresh parsley, chopped
2 tablespoons chili powder
1 1/4 teaspoon salt
1 teaspoon paprika
1 teaspoon cumin
freshly cracked black pepper to taste
Optional toppings:
shredded cheddar jack cheese
sour cream
sliced green onions
Recipe Steps
]]>Main Ingredients
1 tablespoon olive oil
1.5 - 2 lbs lean ground beef
1 can (14.5 oz) stewed tomatoes
1/2 can (8 oz) diced tomatoes
1 small yellow onion, chopped
3 cloves garlic, minced
1/2 cup dry red wine
1 small green pepper, chopped
1 jalepeno, seeded and chopped
1 can (4 oz) chopped green chiles
1/2 cup fresh parsley, chopped
2 tablespoons chili powder
1 1/4 teaspoon salt
1 teaspoon paprika
1 teaspoon cumin
freshly cracked black pepper to taste
Optional toppings:
shredded cheddar jack cheese
sour cream
sliced green onions
Recipe Steps
- Over medium high heat, preheat a cast iron skillet with olive oil. Once hot, brown the ground beef in the skillet, breaking it into smaller pieces as it cooks. Add 1/4 teaspoon salt and black pepper to taste while browning. Avoid over-stirring, allowing the meat to develop a dark brown color and slightly crispy exterior (4-5 minutes). Remove the browned meat from the skillet and transfer to a slow cooker. Some brown bits may remain in the pan.
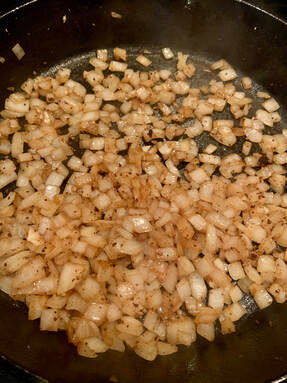
- While the skillet is still hot (medium-high), add the onion and cook until translucent (3-4 minutes), then add the garlic and cook until slightly brown in color (30 seconds). Be careful not to let the garlic burn. Turn off the heat, then pour the red wine into the skillet with the onion and garlic, scraping the browned bits from the bottom of the pan. Transfer the entire contents of the pan to the slow cooker.
- Next, add the rest of the ingredients to the slow cooker, stirring to combine. Set the slow cooker to low and cook for 4-6 hours.
